Lesson One: Bouquets Structures Shown
Hitomi’s Study Notes
Tool List
Non-stick Titanium Scissors
ARS Choki Cutter (primary wire cutter)
Needlenose Plier (serrated edge)
Endcutter (for extra twist and cut on bindwire twists)
Chickenwire Cutter (Flart from Japan)
ARS Pruner (the best stem cutter for flowers)
Xacto Knife (retractable florist knife)
Supply List
Bindwire (tan & green) – Smithers-Oasis product
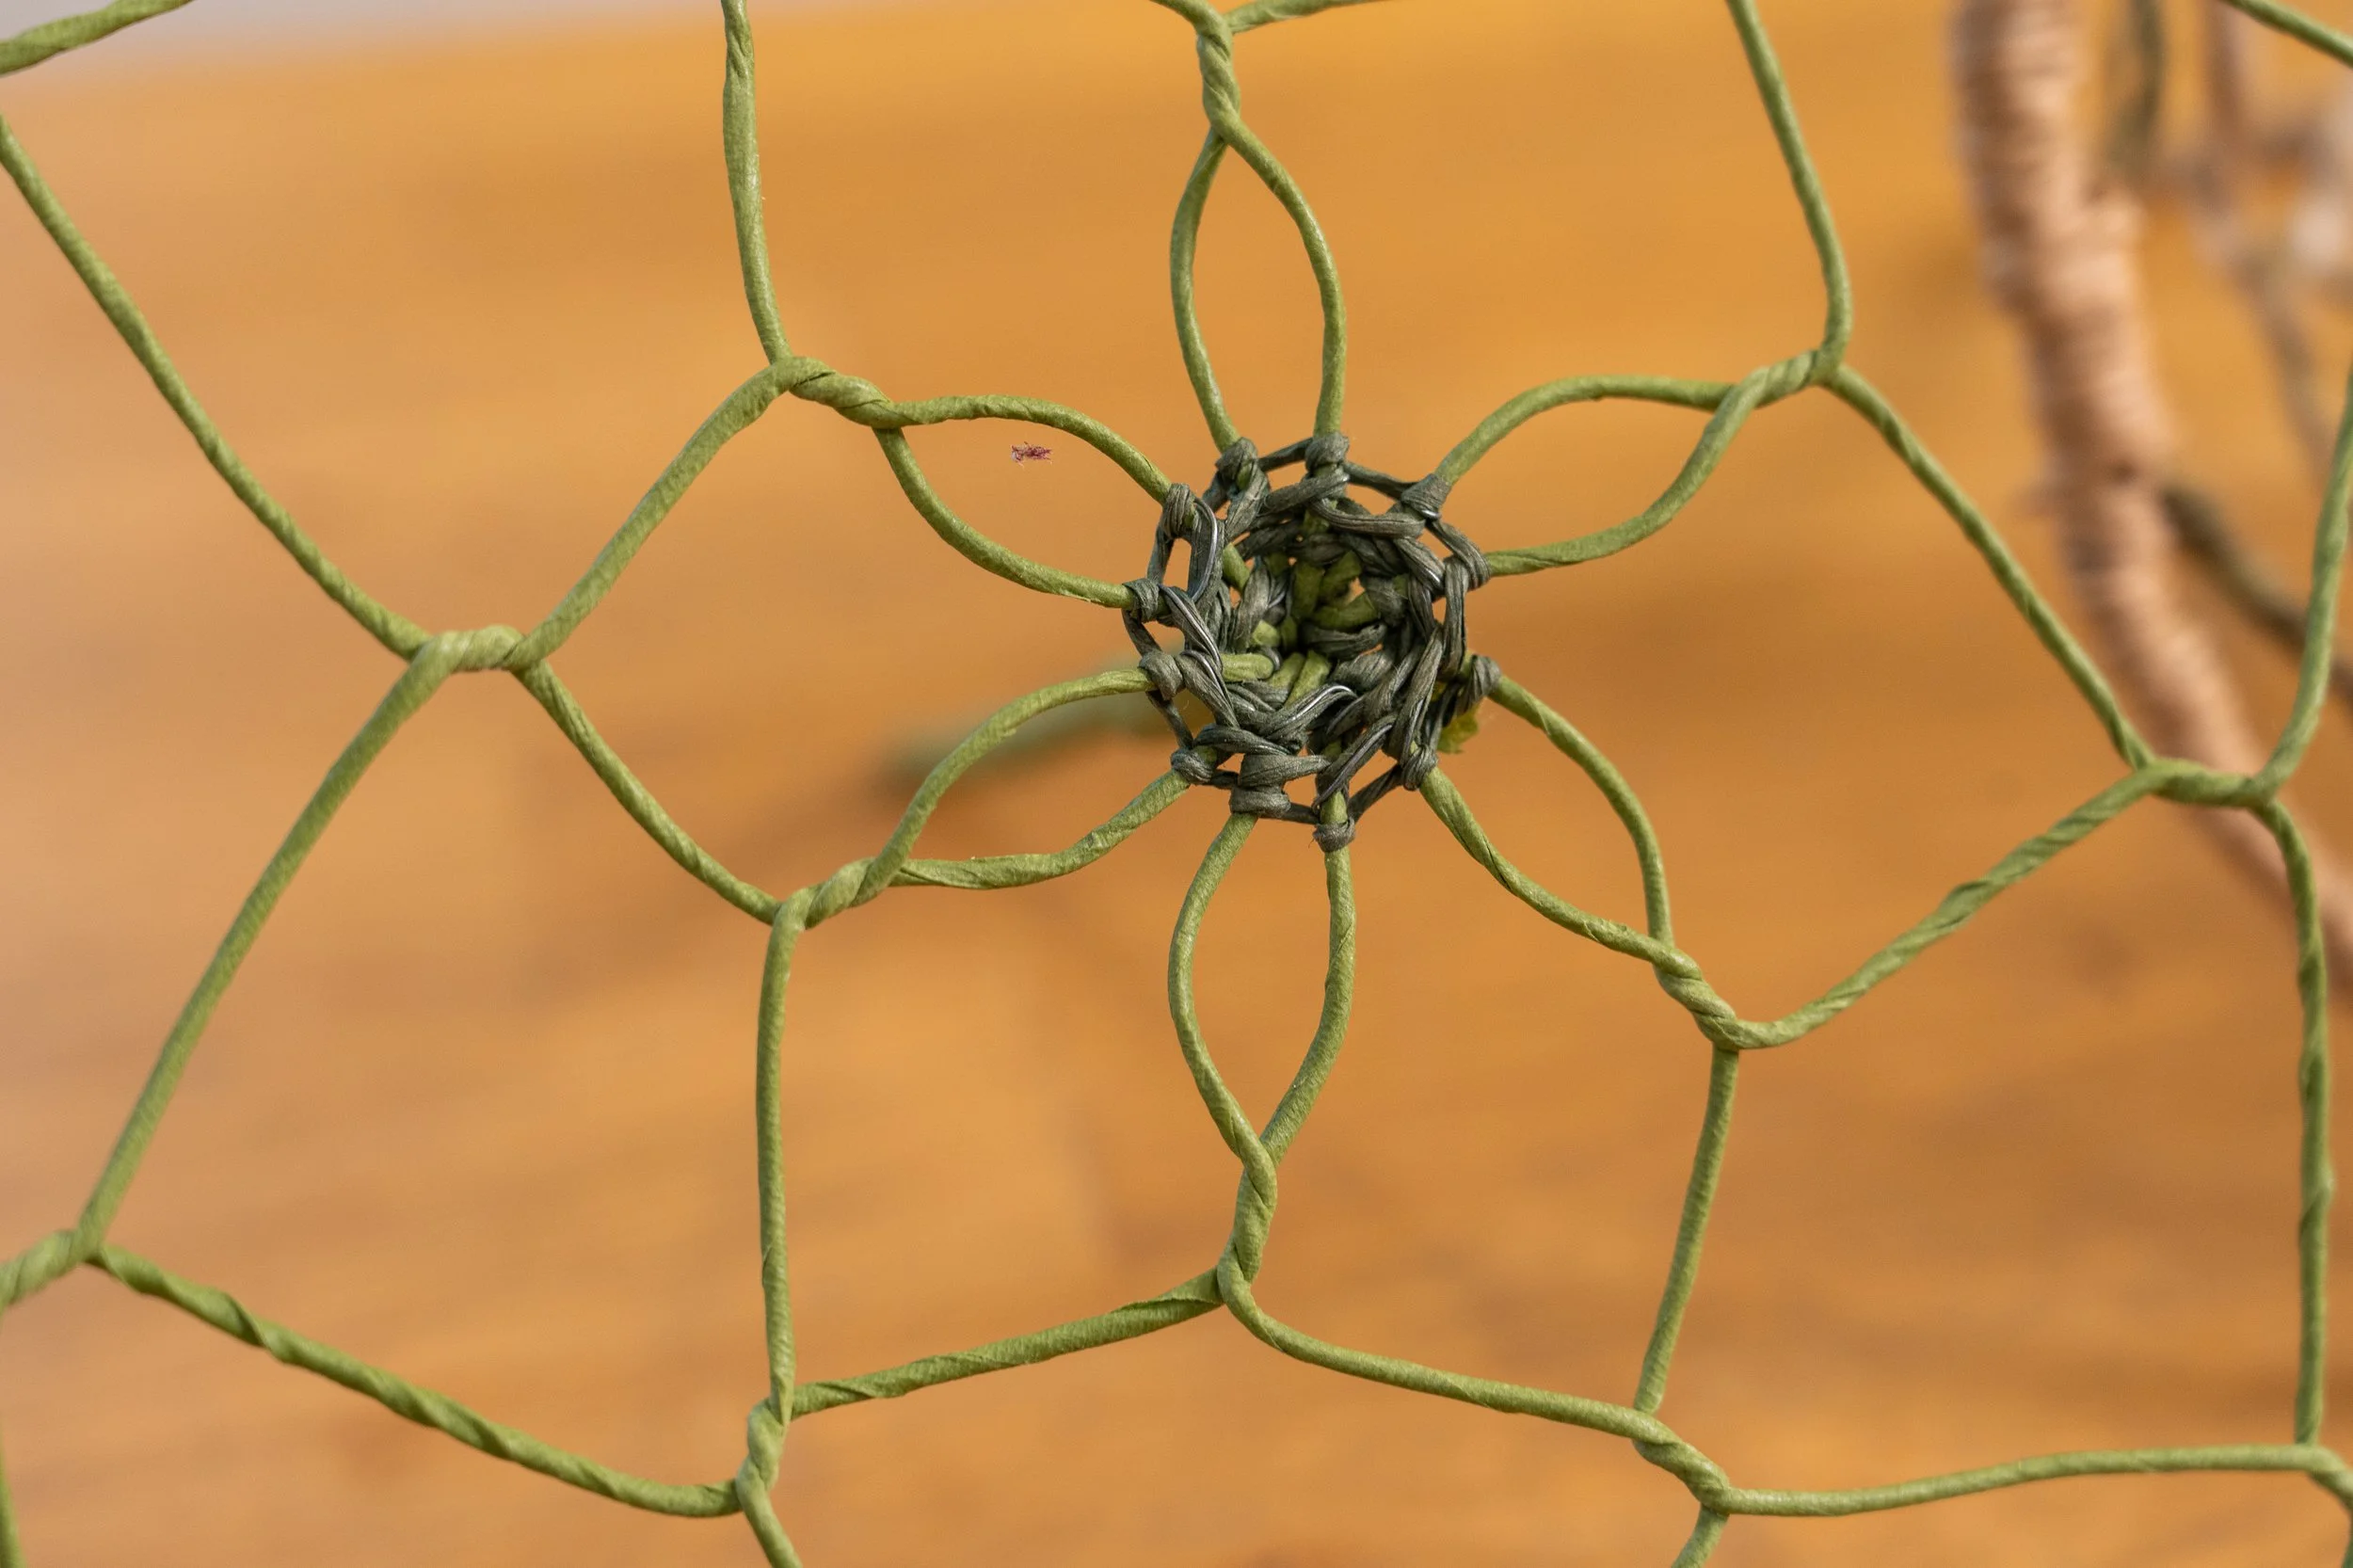
Chickenwire or coated Poultry Netting (12”wide) – Smithers-Oasis or Sydicate Sales brands
Wiremesh (gold – it comes in silver and copper as well) – Smithers-Oasis product
Rustic Wire (brown) – Smiothers-Oasis product
UGlu Dashes – Smithers-Oasis product
#20 gauge Florist Wire
Florist Tape (light green)
IKEA Torka Willow Whips
Rubber Bands
Prepared Components
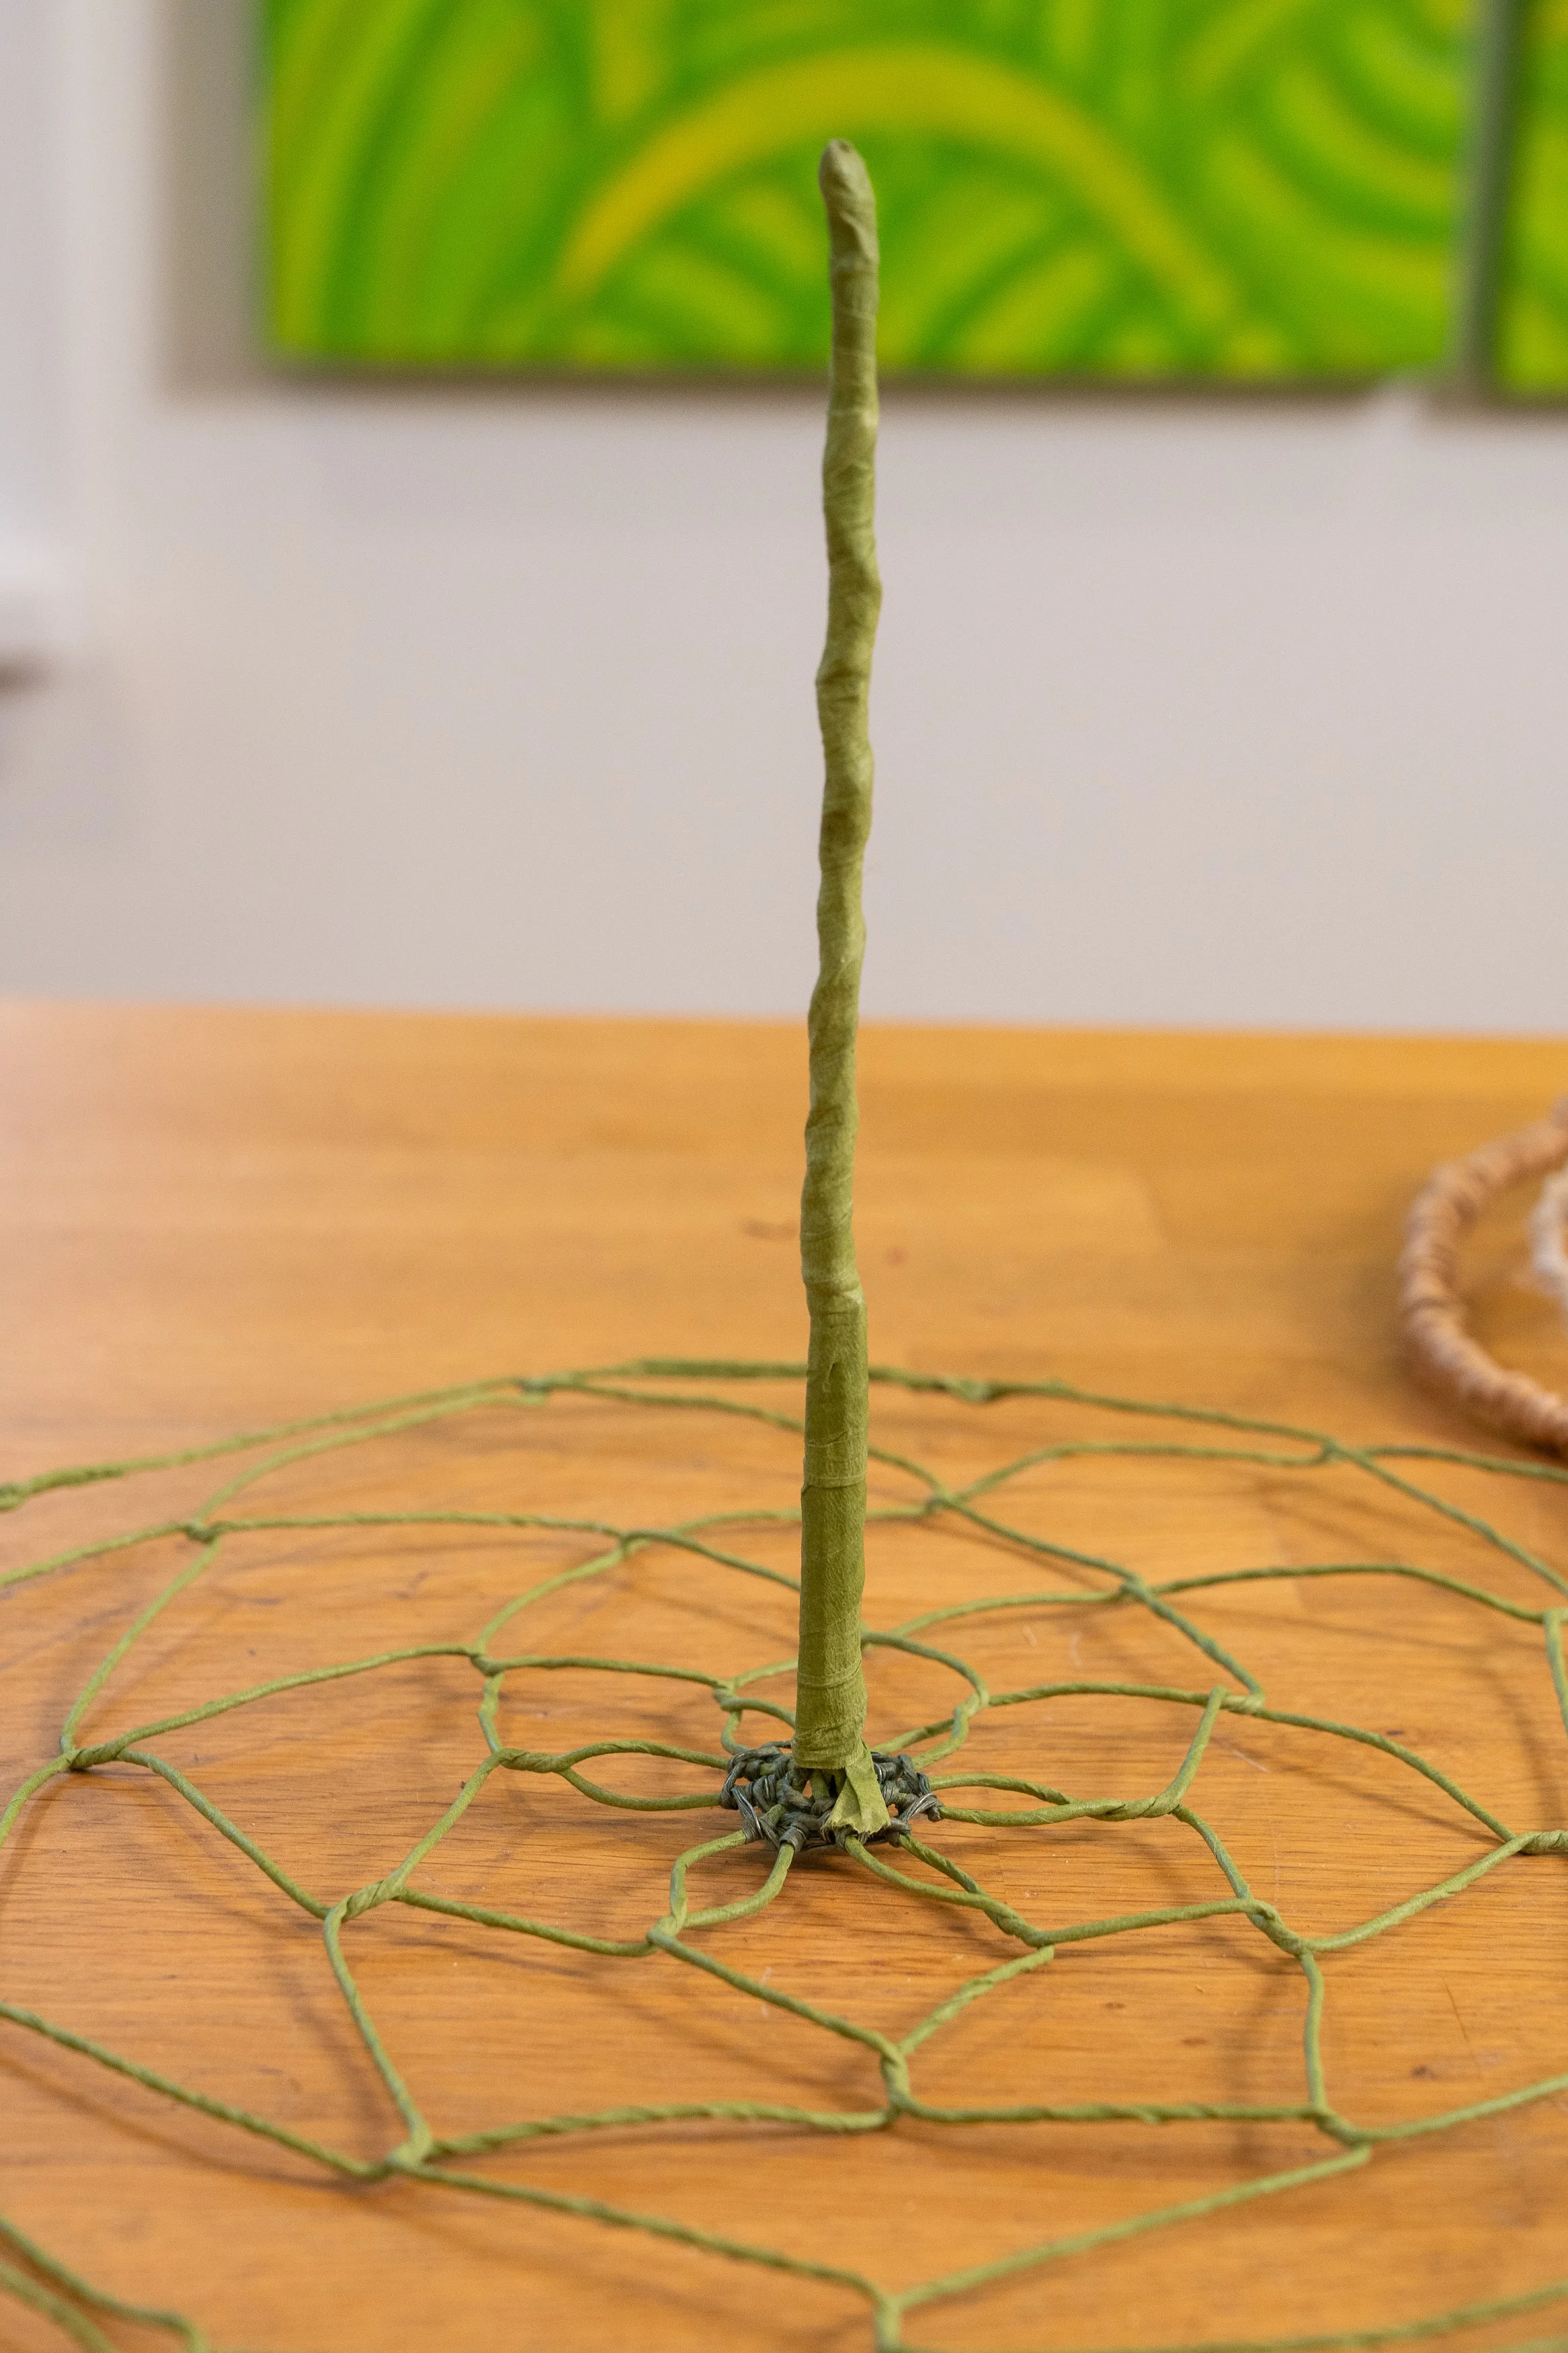
Yarn-covered Wire Extenders
Raffia-covered Wire Extenders
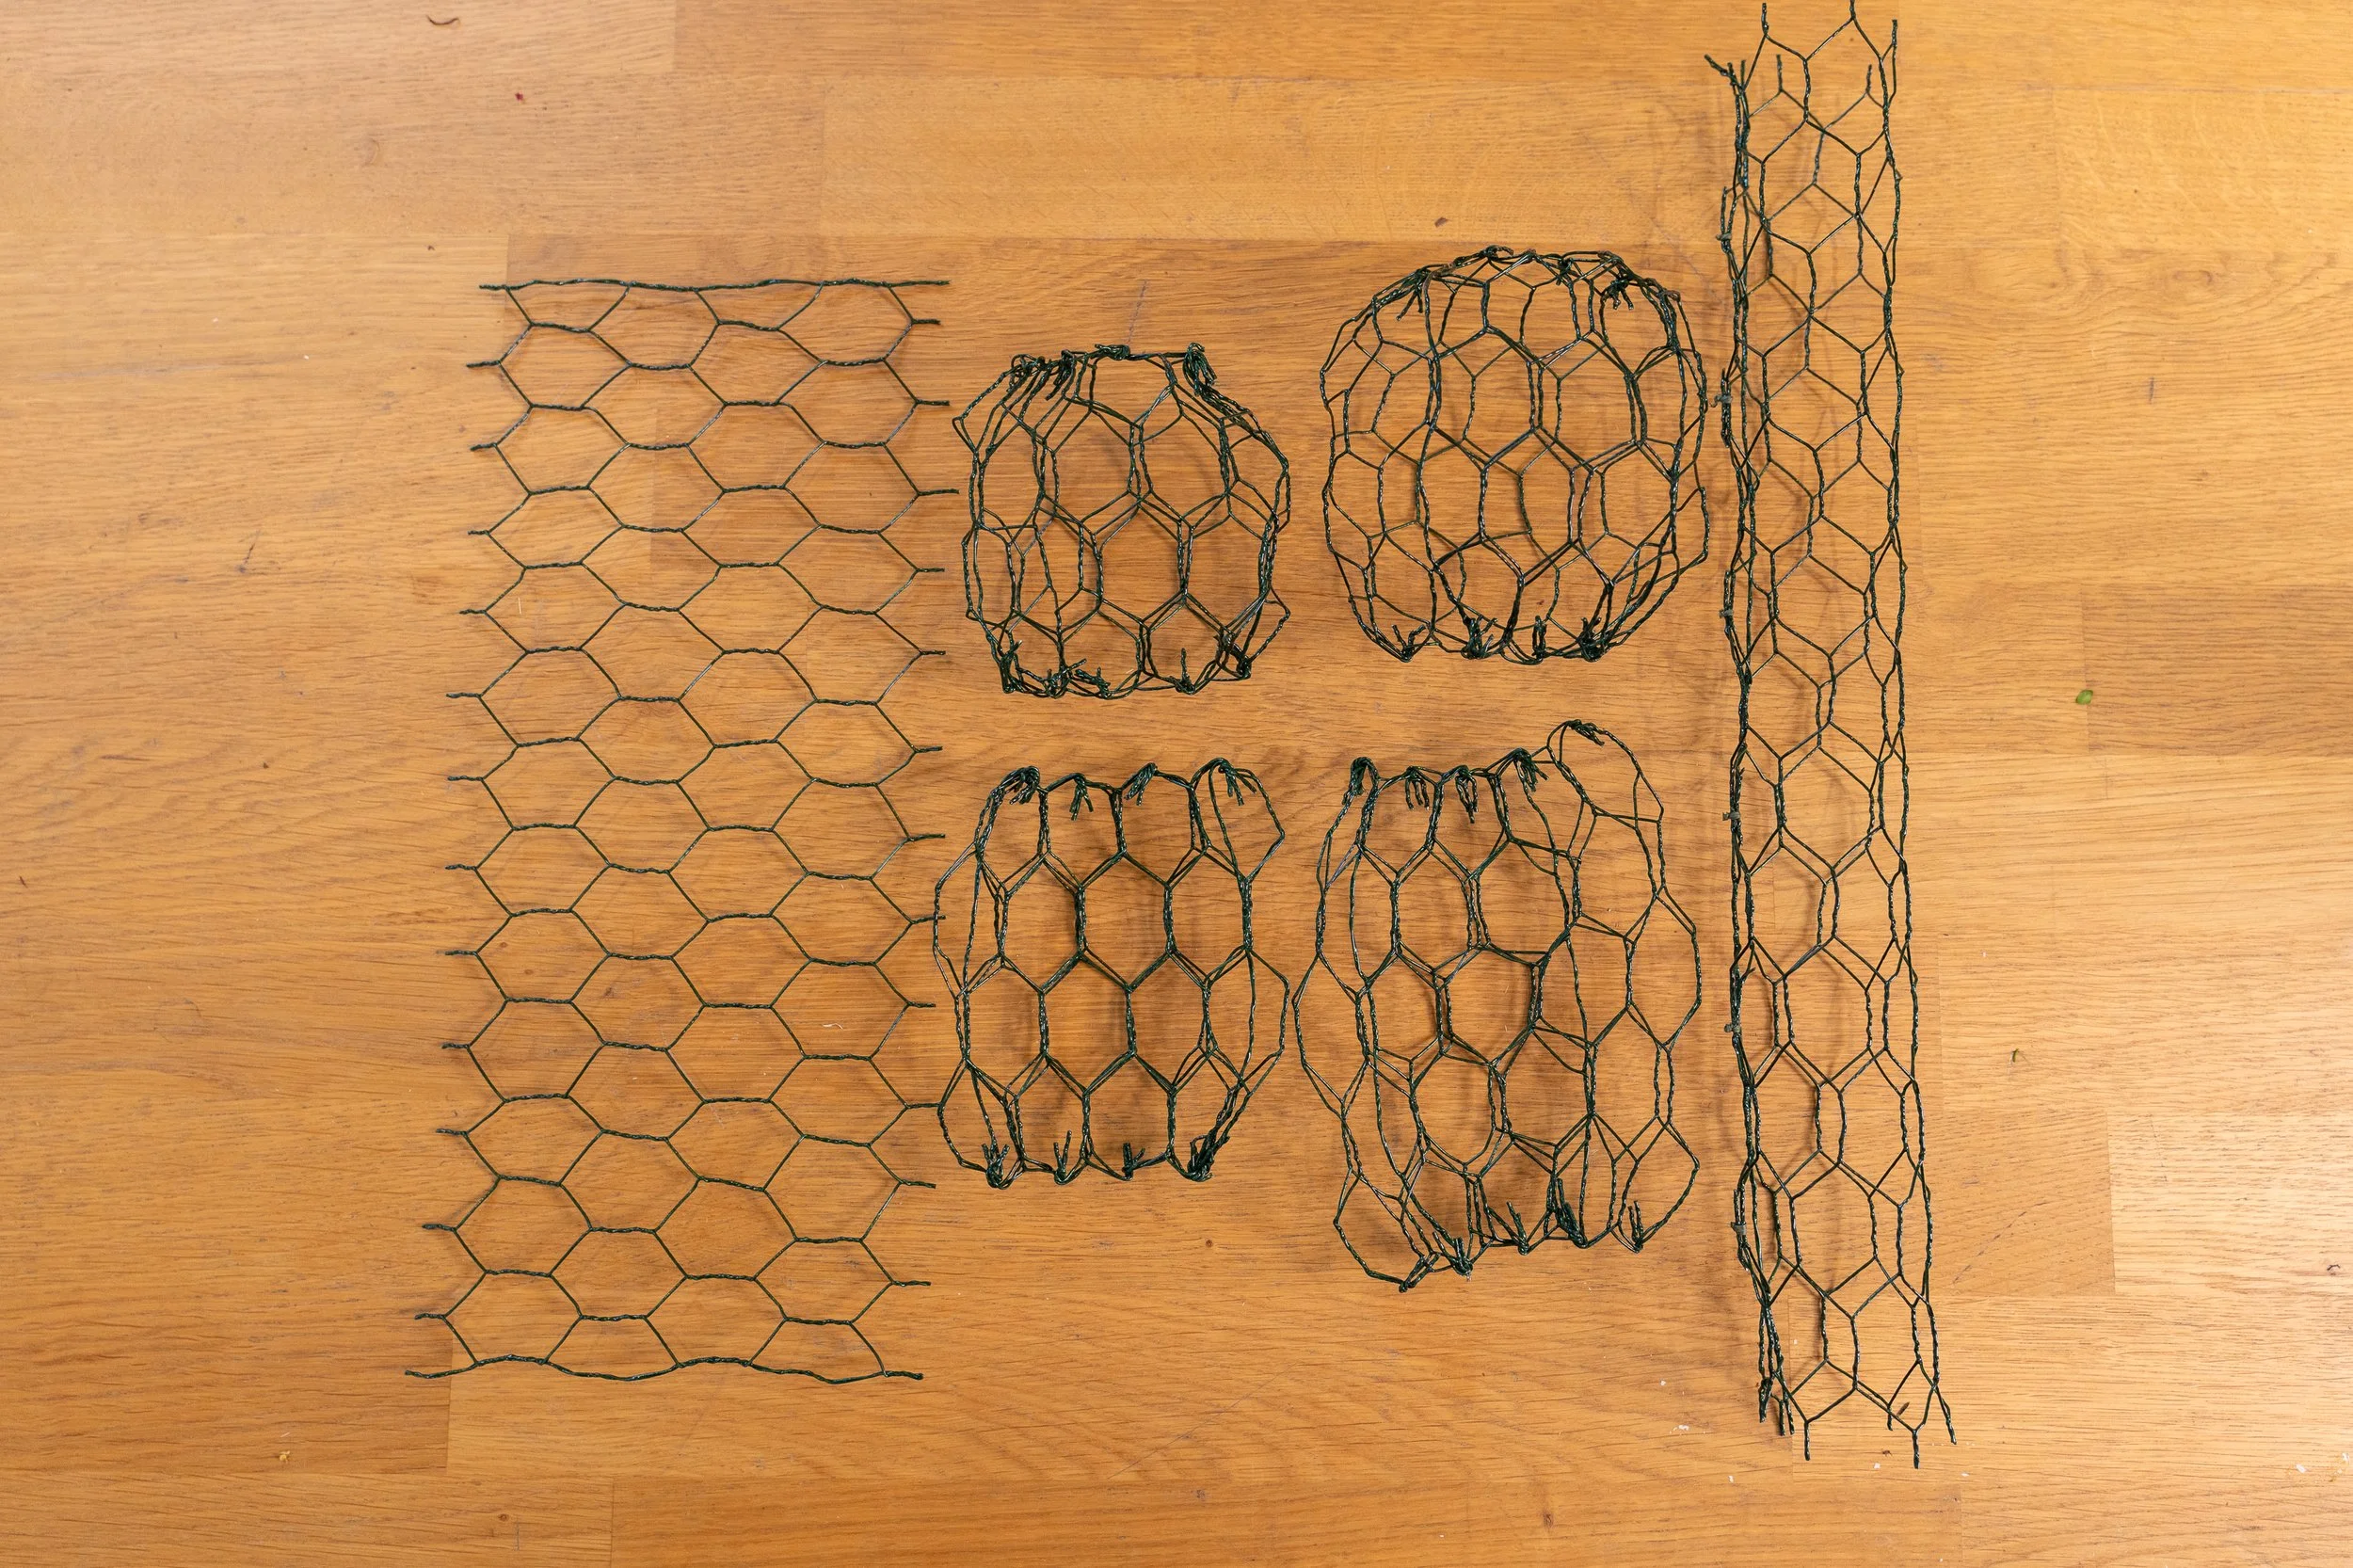


Base Mechanic #1 Chickenwire Pillow
Cut off from the roll of chickenwire (12” wide) in the middle of the 5th cell to create the small pillow
Cut off from the roll of chickenwire in the middle of the 6th cell to create the medium size pillow
This size serves as an alternative to 1/3 brick of foam.
Overlap the seam to create a flattened square. Then twist the bundle of wire ends a full once or twice and bend it to the inside of the pillow. Complete all wire ends across the top and the bottom this way.
Store these prepared pillows flat. Make many… 10 or more at a time.
Puff up the pillow when preparing to use it.


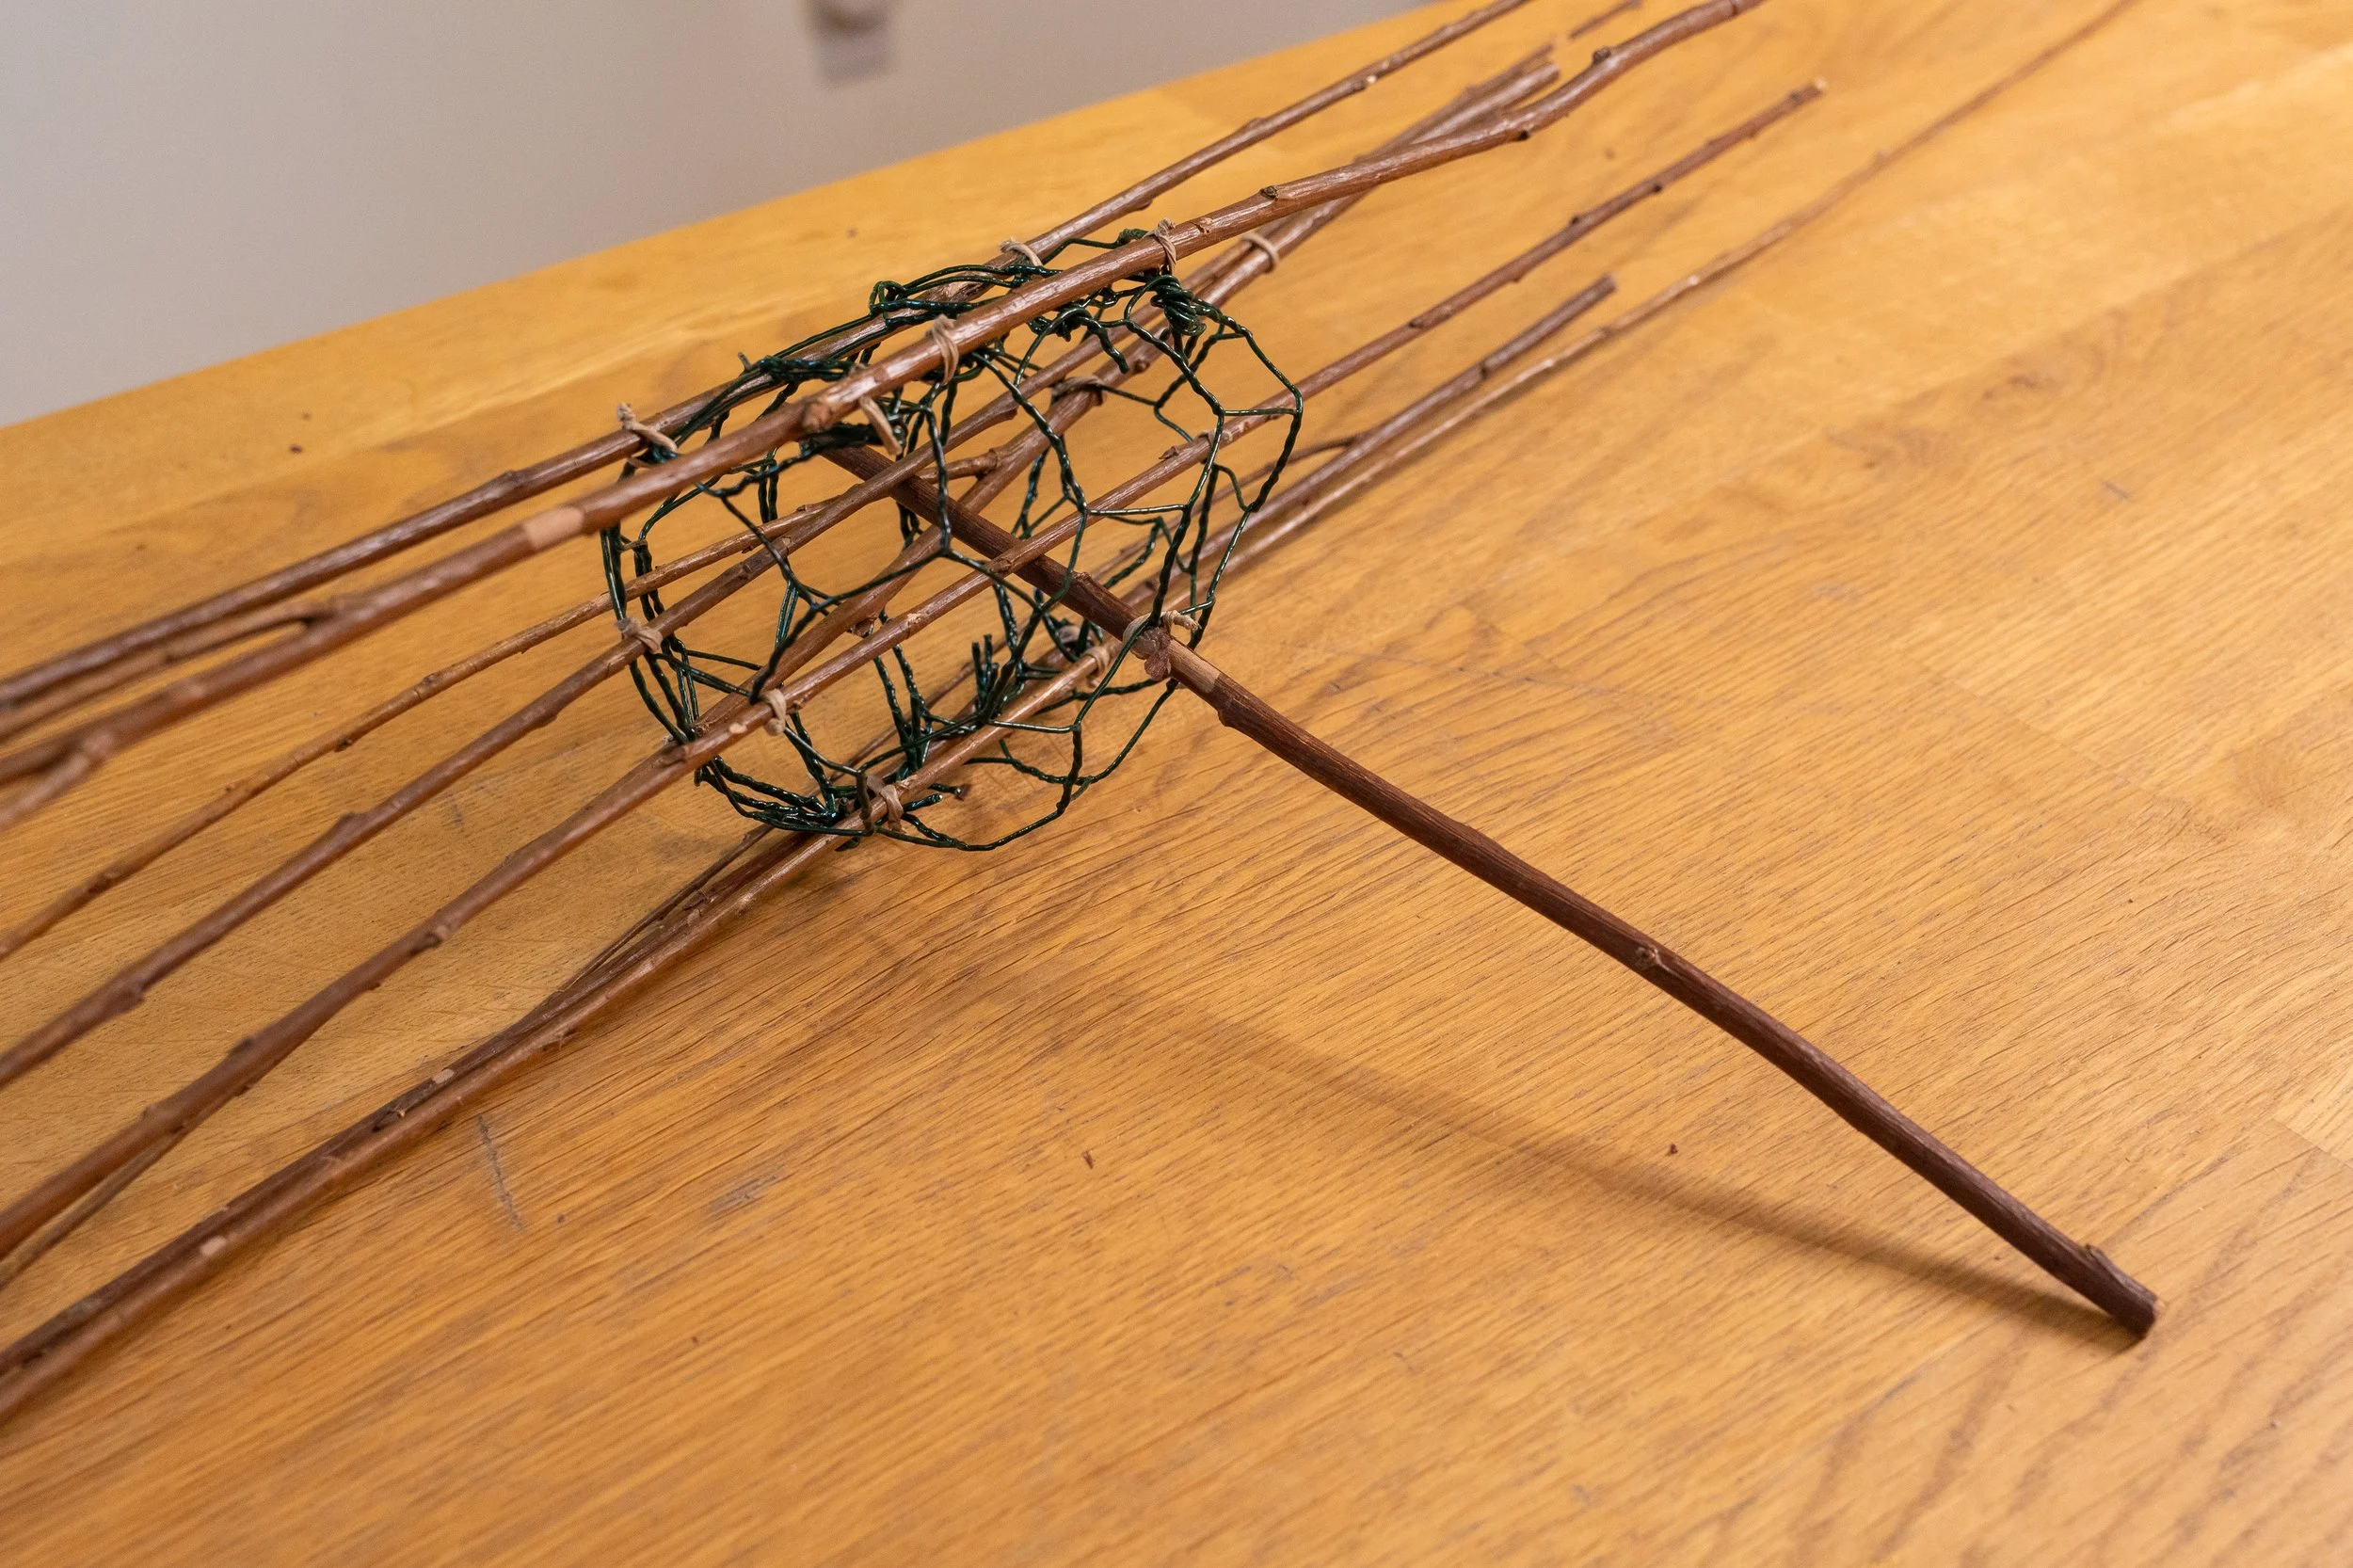
Structure #1 Simple Vertical Structure with Chickenwire Pillow
Attach a short piece of Torka Willow stick vertically, by bindwiring in 2 spots on the small pillow, to create the handle.
Attach multiple lengths of Torka Willow sticks vertically through the chickenwire pillow and bindwire them in place. It helps to use ¼ Uglu dash to tighten the adhesion on each binding spot.
2 bindwired spots per stick, to maintain the verticality to stay as parallel as possible.
Possibly add yarn-covered or raffia-covered wire extenders to vine through and connect the vertical elements to make the structure sturdier.


Structure #2 Simple Horizontal Structure with Chickenwire Pillow
Attach short piece of Torka Willow stick vertically, by bindwiring in 2 spots on the pillow, to create the handle on a small chickenwire pillow.
Attach multiple lengths of Torka Willow whips horizontally through the chickenwire pillow (attach at 2 bindwire points per stick to maintain horizontality. ¼ piece of UGlu dash will help tighten the adhesion at the bindwire twists.


Structure #3 Horizontal Structure with Wire Mesh
Create a narrow cylinder with wiremesh cut with spikes at the end of 6 or 7 cells, the full width of the roll.
Roll into cylinder with 1 cell overlap and spike the wire ends over one full wrap at the attach points
Attach 2 long length (12-24”) of Torka sticks and attach horizontally along 2 opposite spines on the roll top to bottom… bindwired every 4 or 5 cells. Tighten the twists with endcutter and make a clean cut to finish.
Add 2 short lengths of Torka sticks, bindwired to the structure perpendicularly and gathered at the bottom to create the handle. Use the ¼ piece of UGlu dash to make the binding tight and secure.
Embellish the structure with design components such as wire extenders, branches, grasses, etc. to start the design.
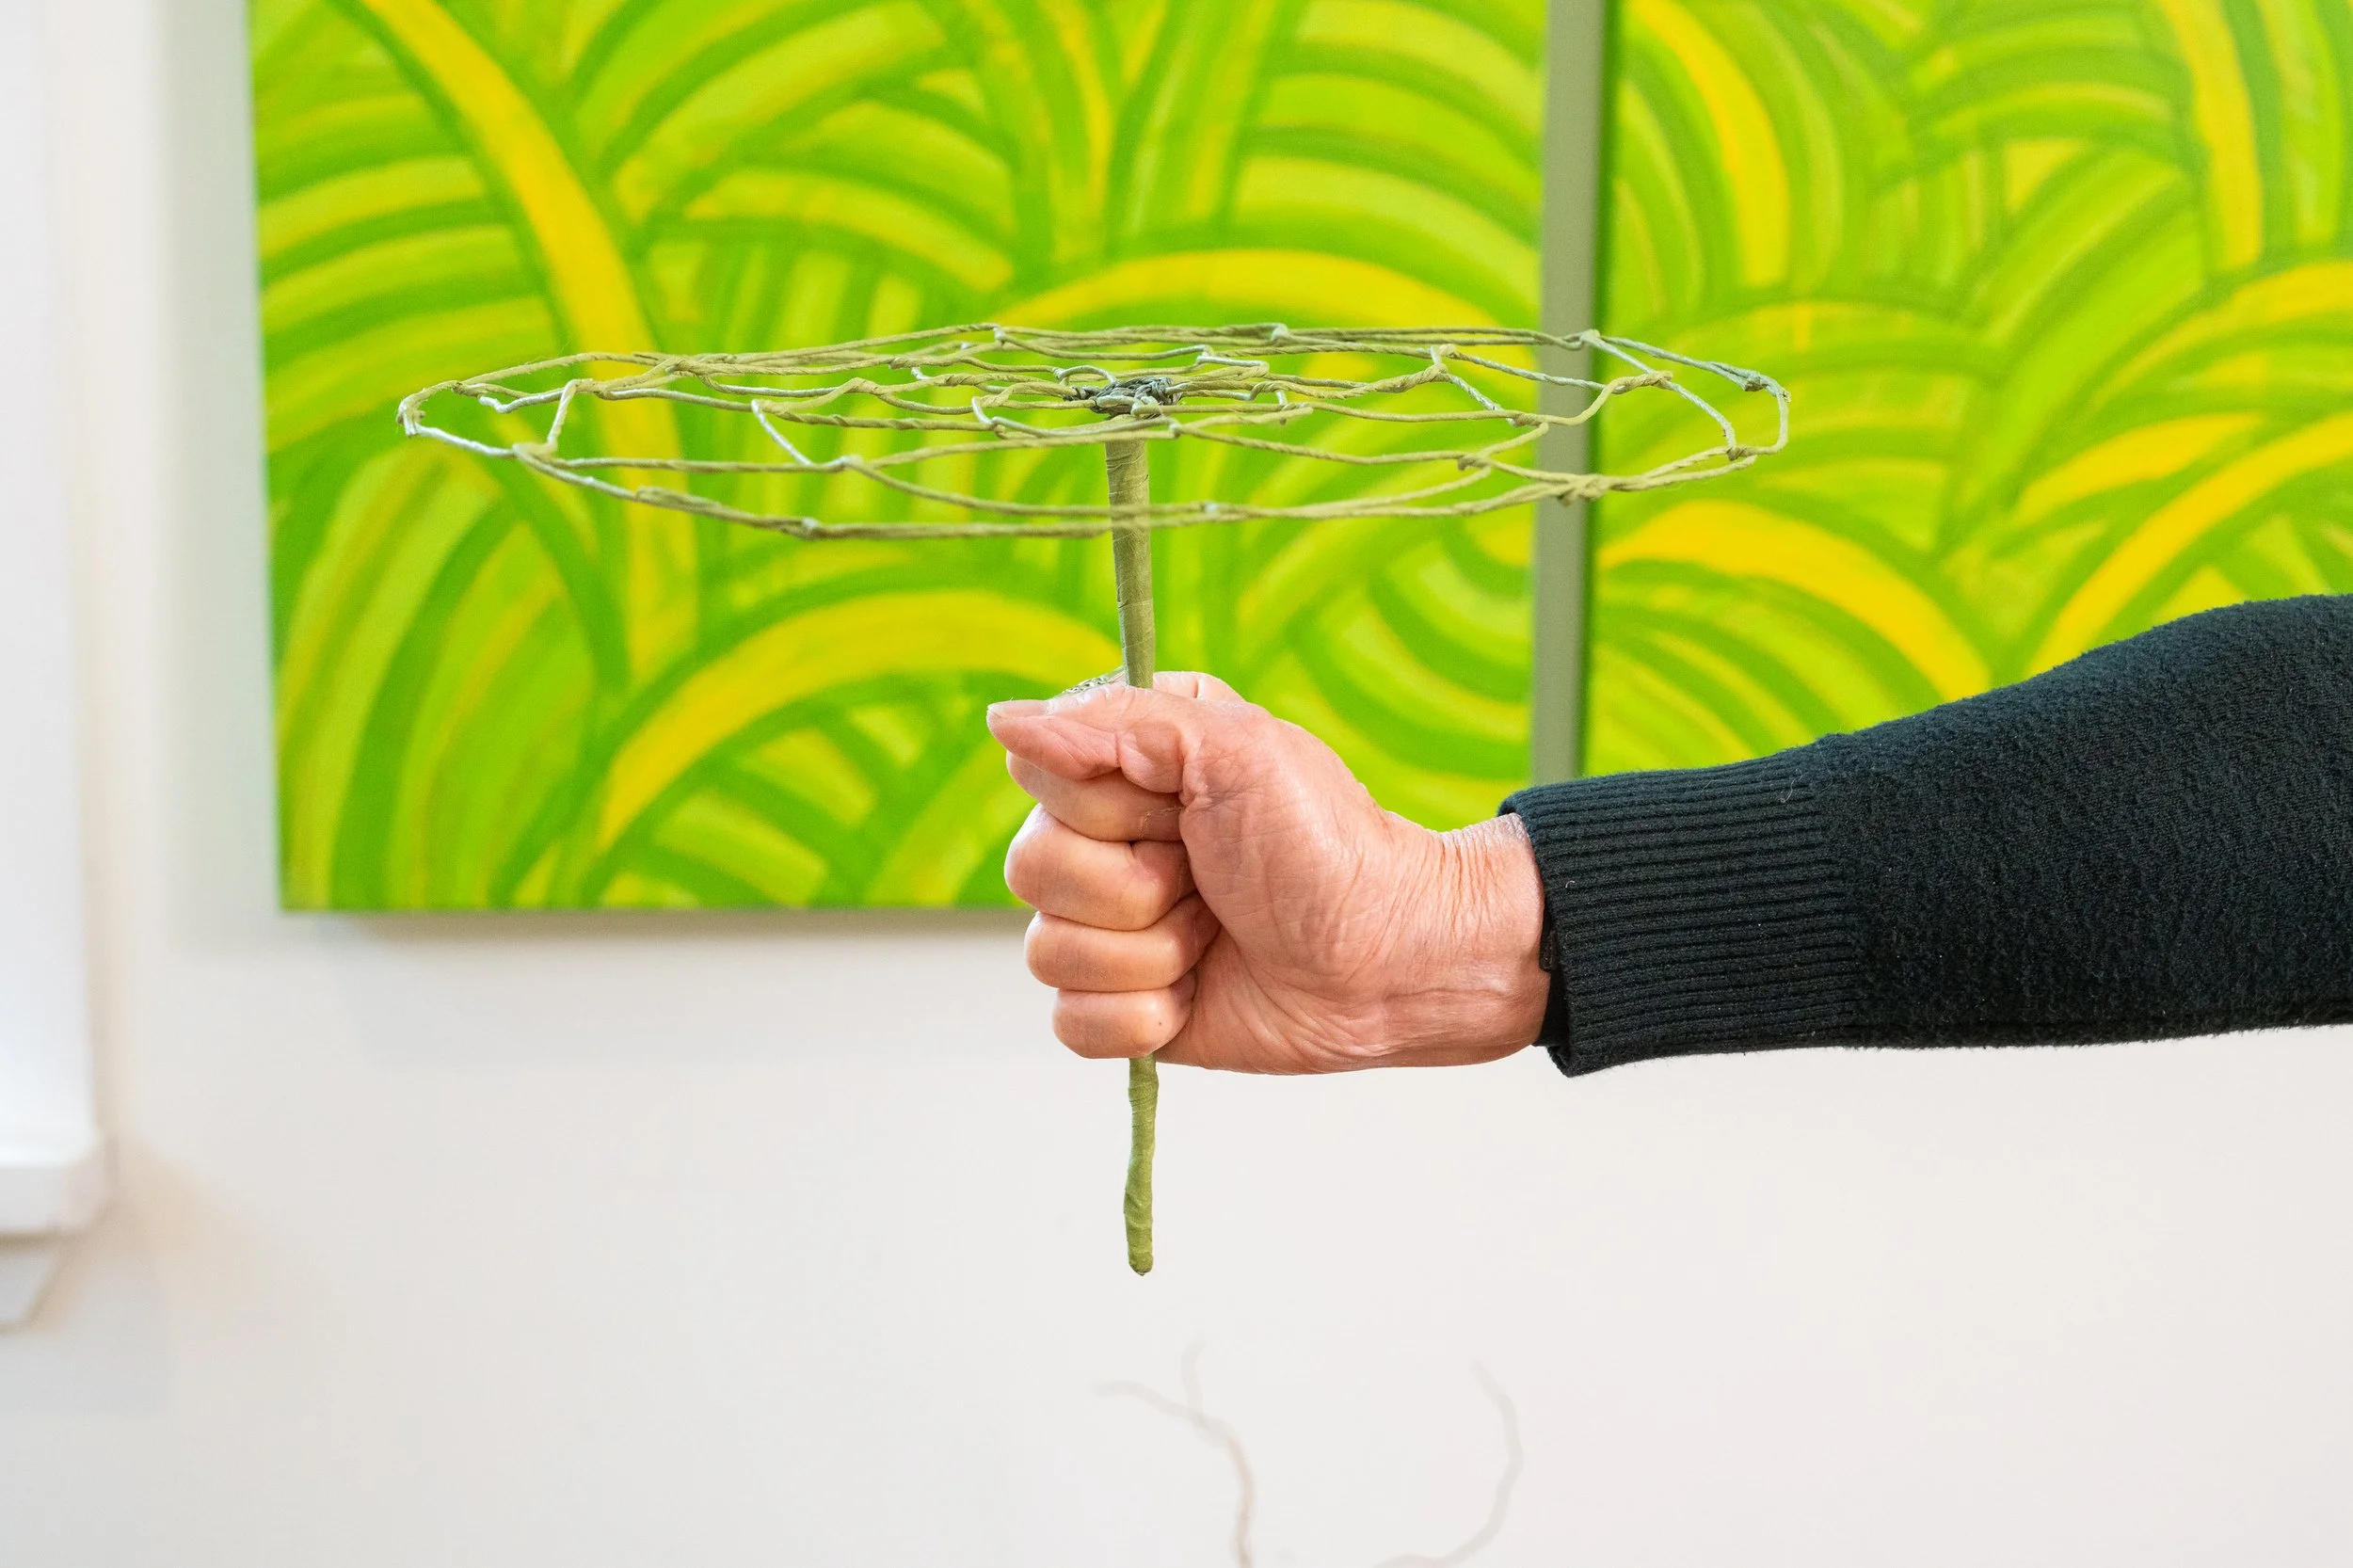
Structure #4 Basic Wire Structure ‘European Rosette’
Prepare 13 pieces of 20 gauge wire with light green tape
Fold one piece in half to use for the handle
Gather and tape the bottom of the bundle of 12 taped wires, 1 ½ to 2”
Insert the handle into the 1 ½ to 2” taped bundle, and tape the whole thing together, smoothing the bump down from 14 pieces to 2.
Watch the demo to create the rosette making process.


Structure #5 Taped Wire Rosette over Tapered Chickenwire Pillow
Variation of the ‘European Rosette’ Wire Structure
Shape the small chickenwire pillow, pointed at the bottom and tapered to fit into the flared shape from the handle
Bindwire the flared wire shape to the chickenwire pillow
At the point above the pillow, flare out further into the rosette patterning.
This structure has a different flowering potential

Tips on Round Reed Bundle Management
When preparing to use the round reed lengths to begin your structural work, cut the ties on the and
Bongo-tie at 10 to 12 “ interval to keep the lengths separated so it’s easier to pull out each strand. This way, you can avoid the tangling up of the ends.


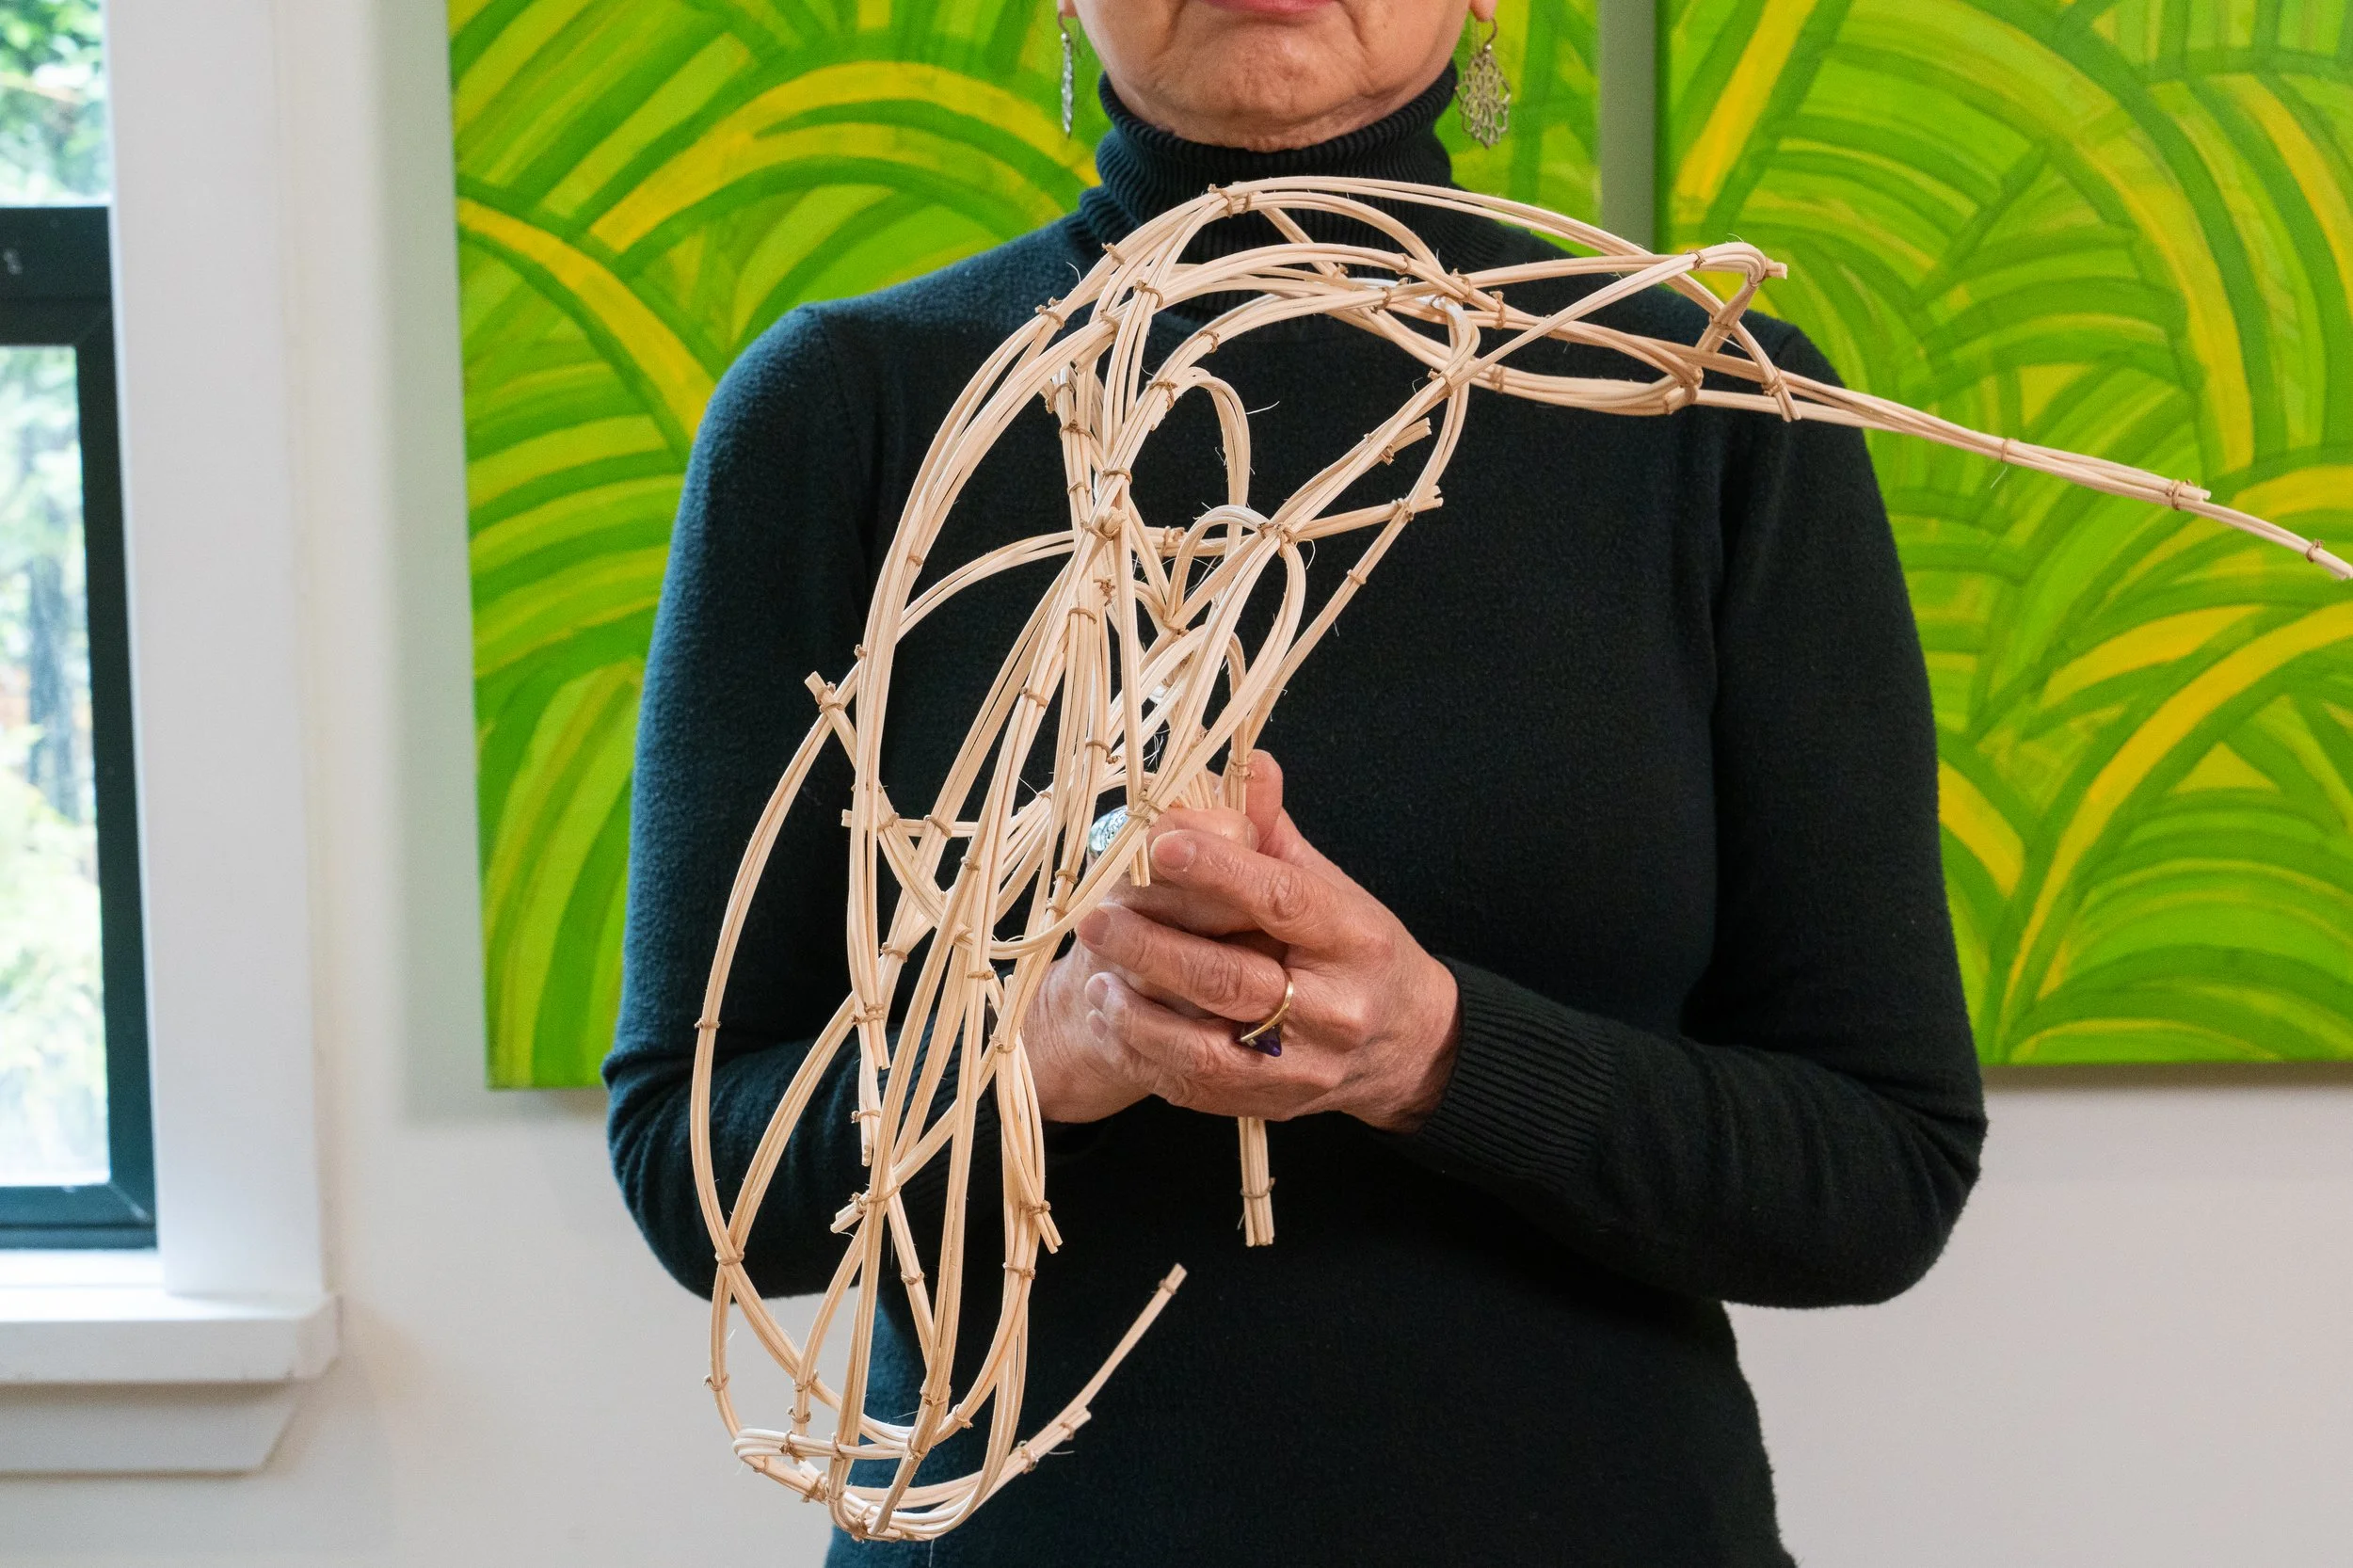
Base Mechanic #2 Round Reed Basic Structure
Cut the #3 Round Reed into multiple lengths (12-15” long)
With each length, create loop at the end, bindwire in 2 to 3 spots and trim ends
Bundle these together to create a base structure with a handle


Structure #6 Round Reed Curvilinear Structure
Bundle 3 matching lengths of round reed and bindwire tight at 6-8” intervals to create sturdy arcs
Attach these bundled arcs over and through the structure base piece #12, with bindwire to create curvilinear structure
Use the endcutter to twist and cut clean each bindwired spots. Allow the twist to bite into the reed for firmly bound grip.


Structure #7 Round Reed Curvilinear Structure with Bound Arcs Only
Variation of Round Reed Structure

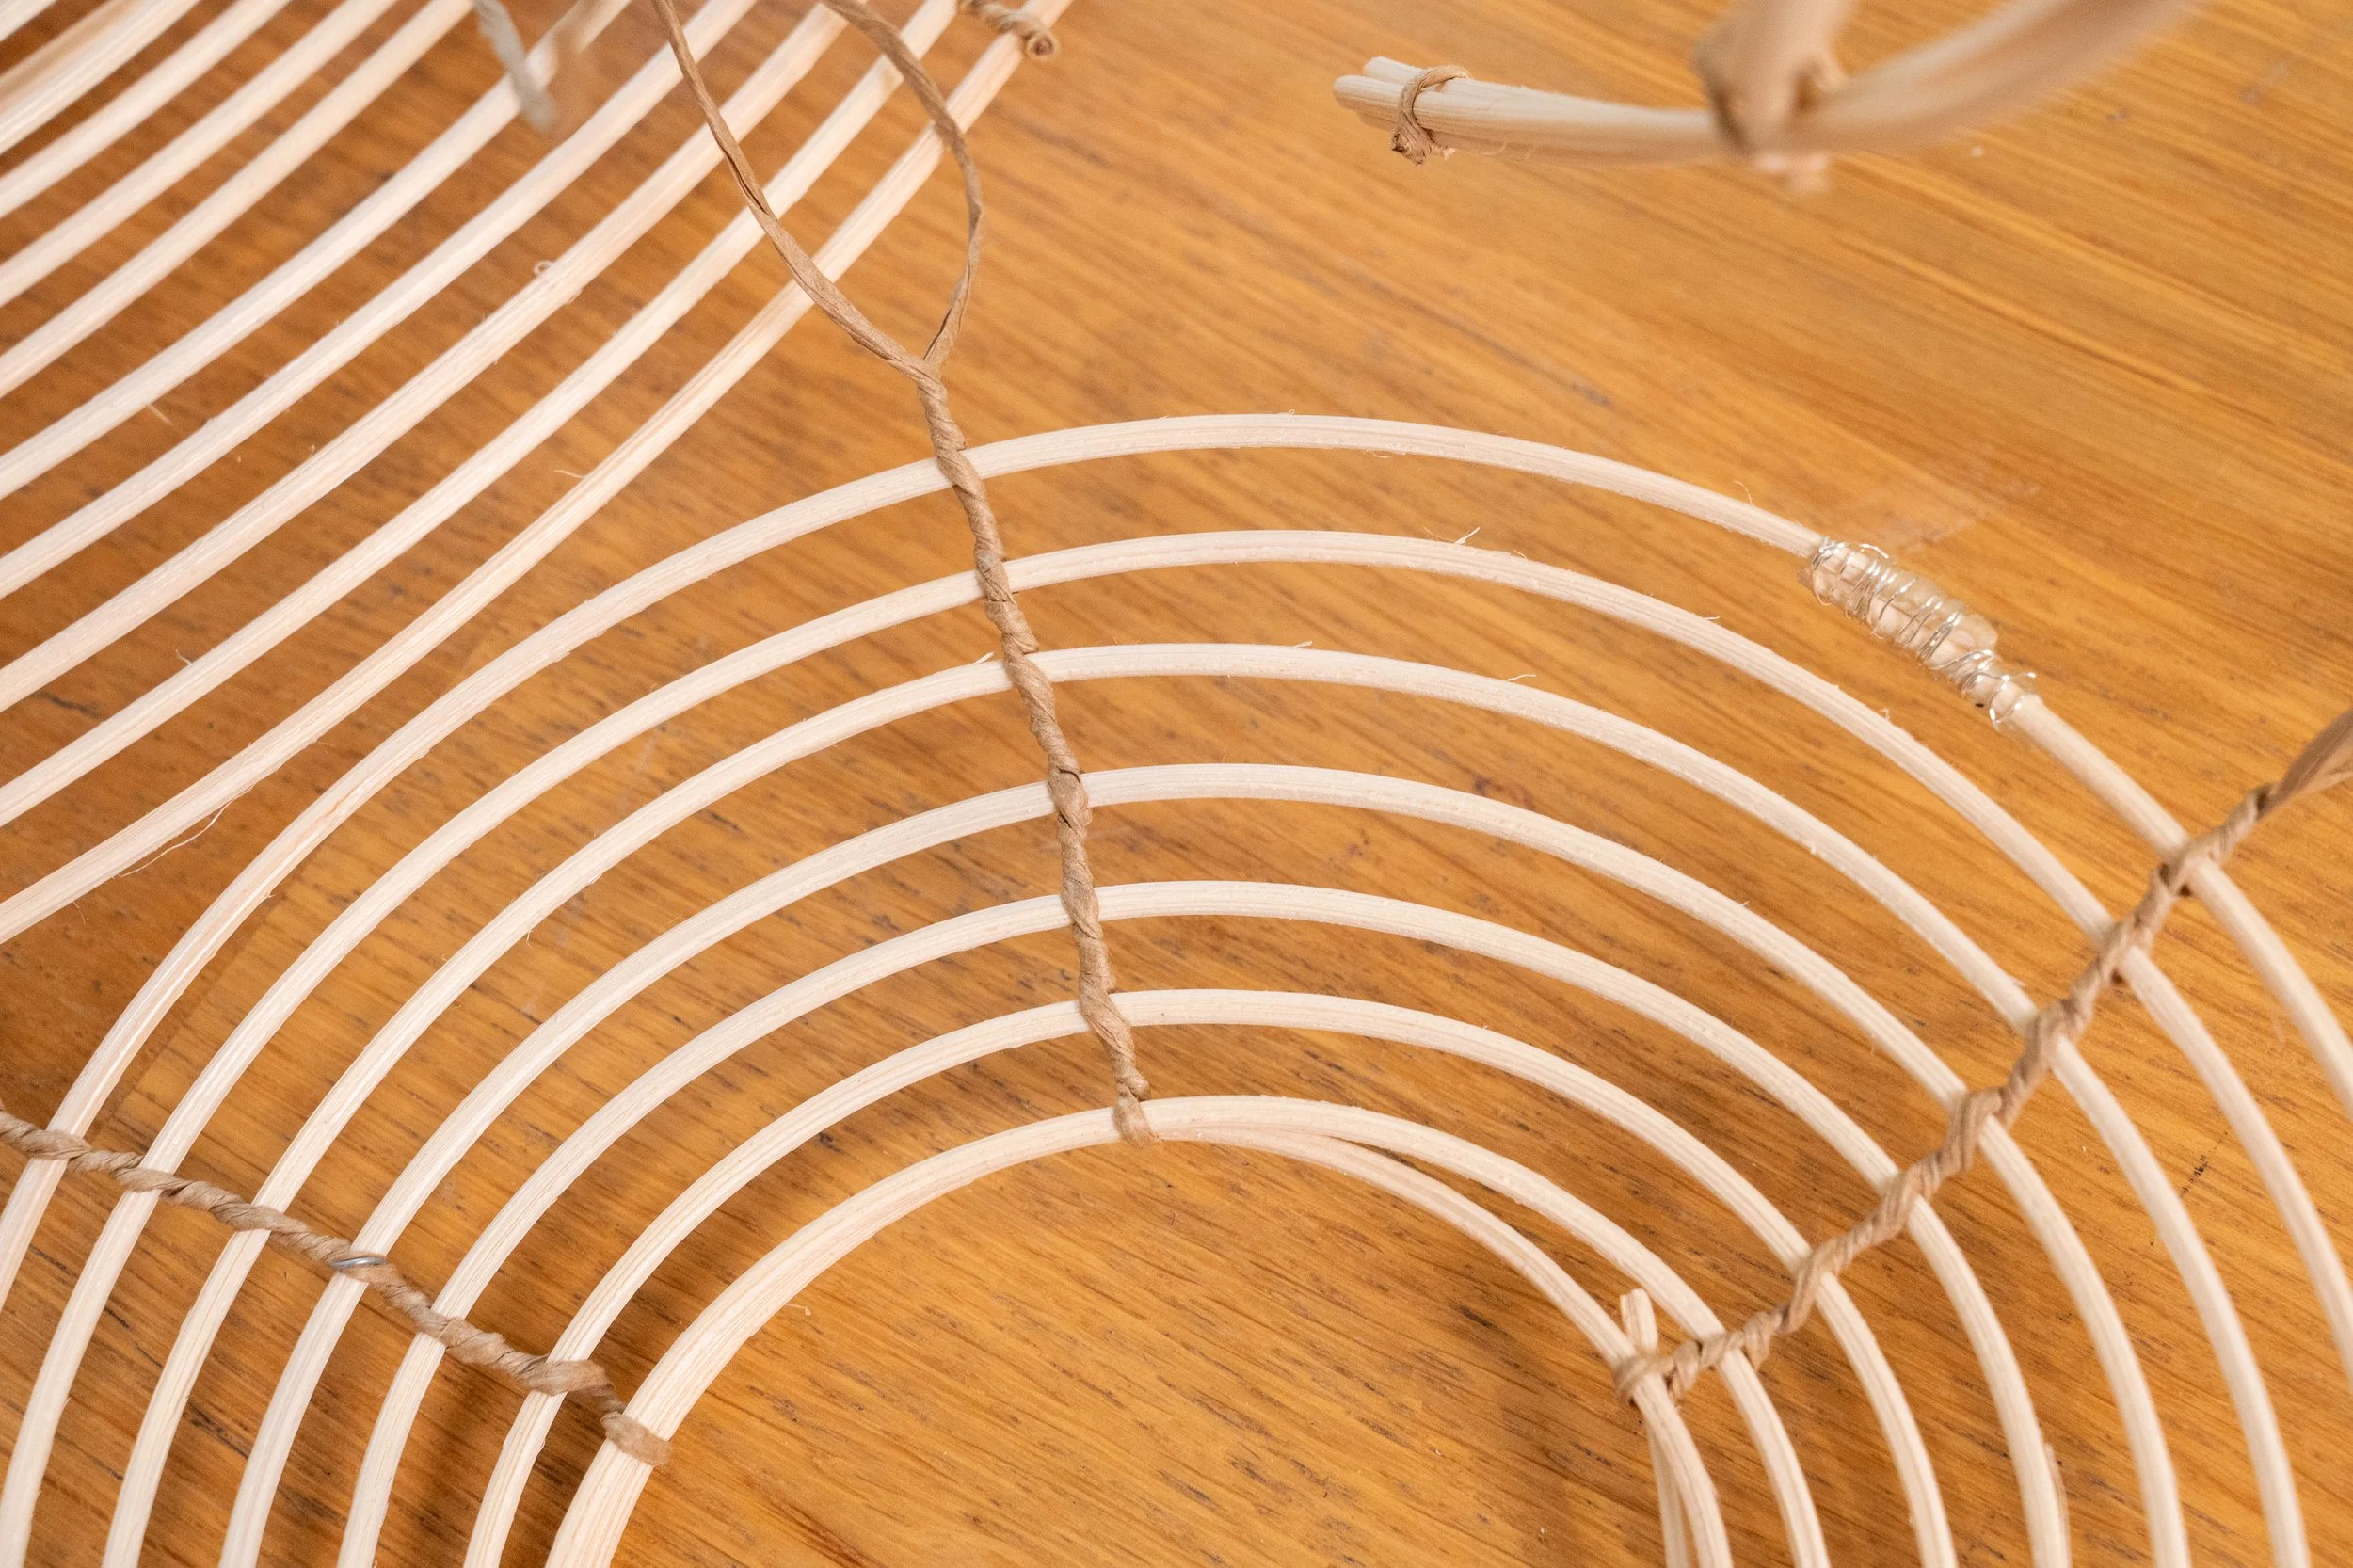

Base Mechanic #3 Round Reed Tatami Circles
Structural mechanics for Tatami Circles… to be used in various structures construction

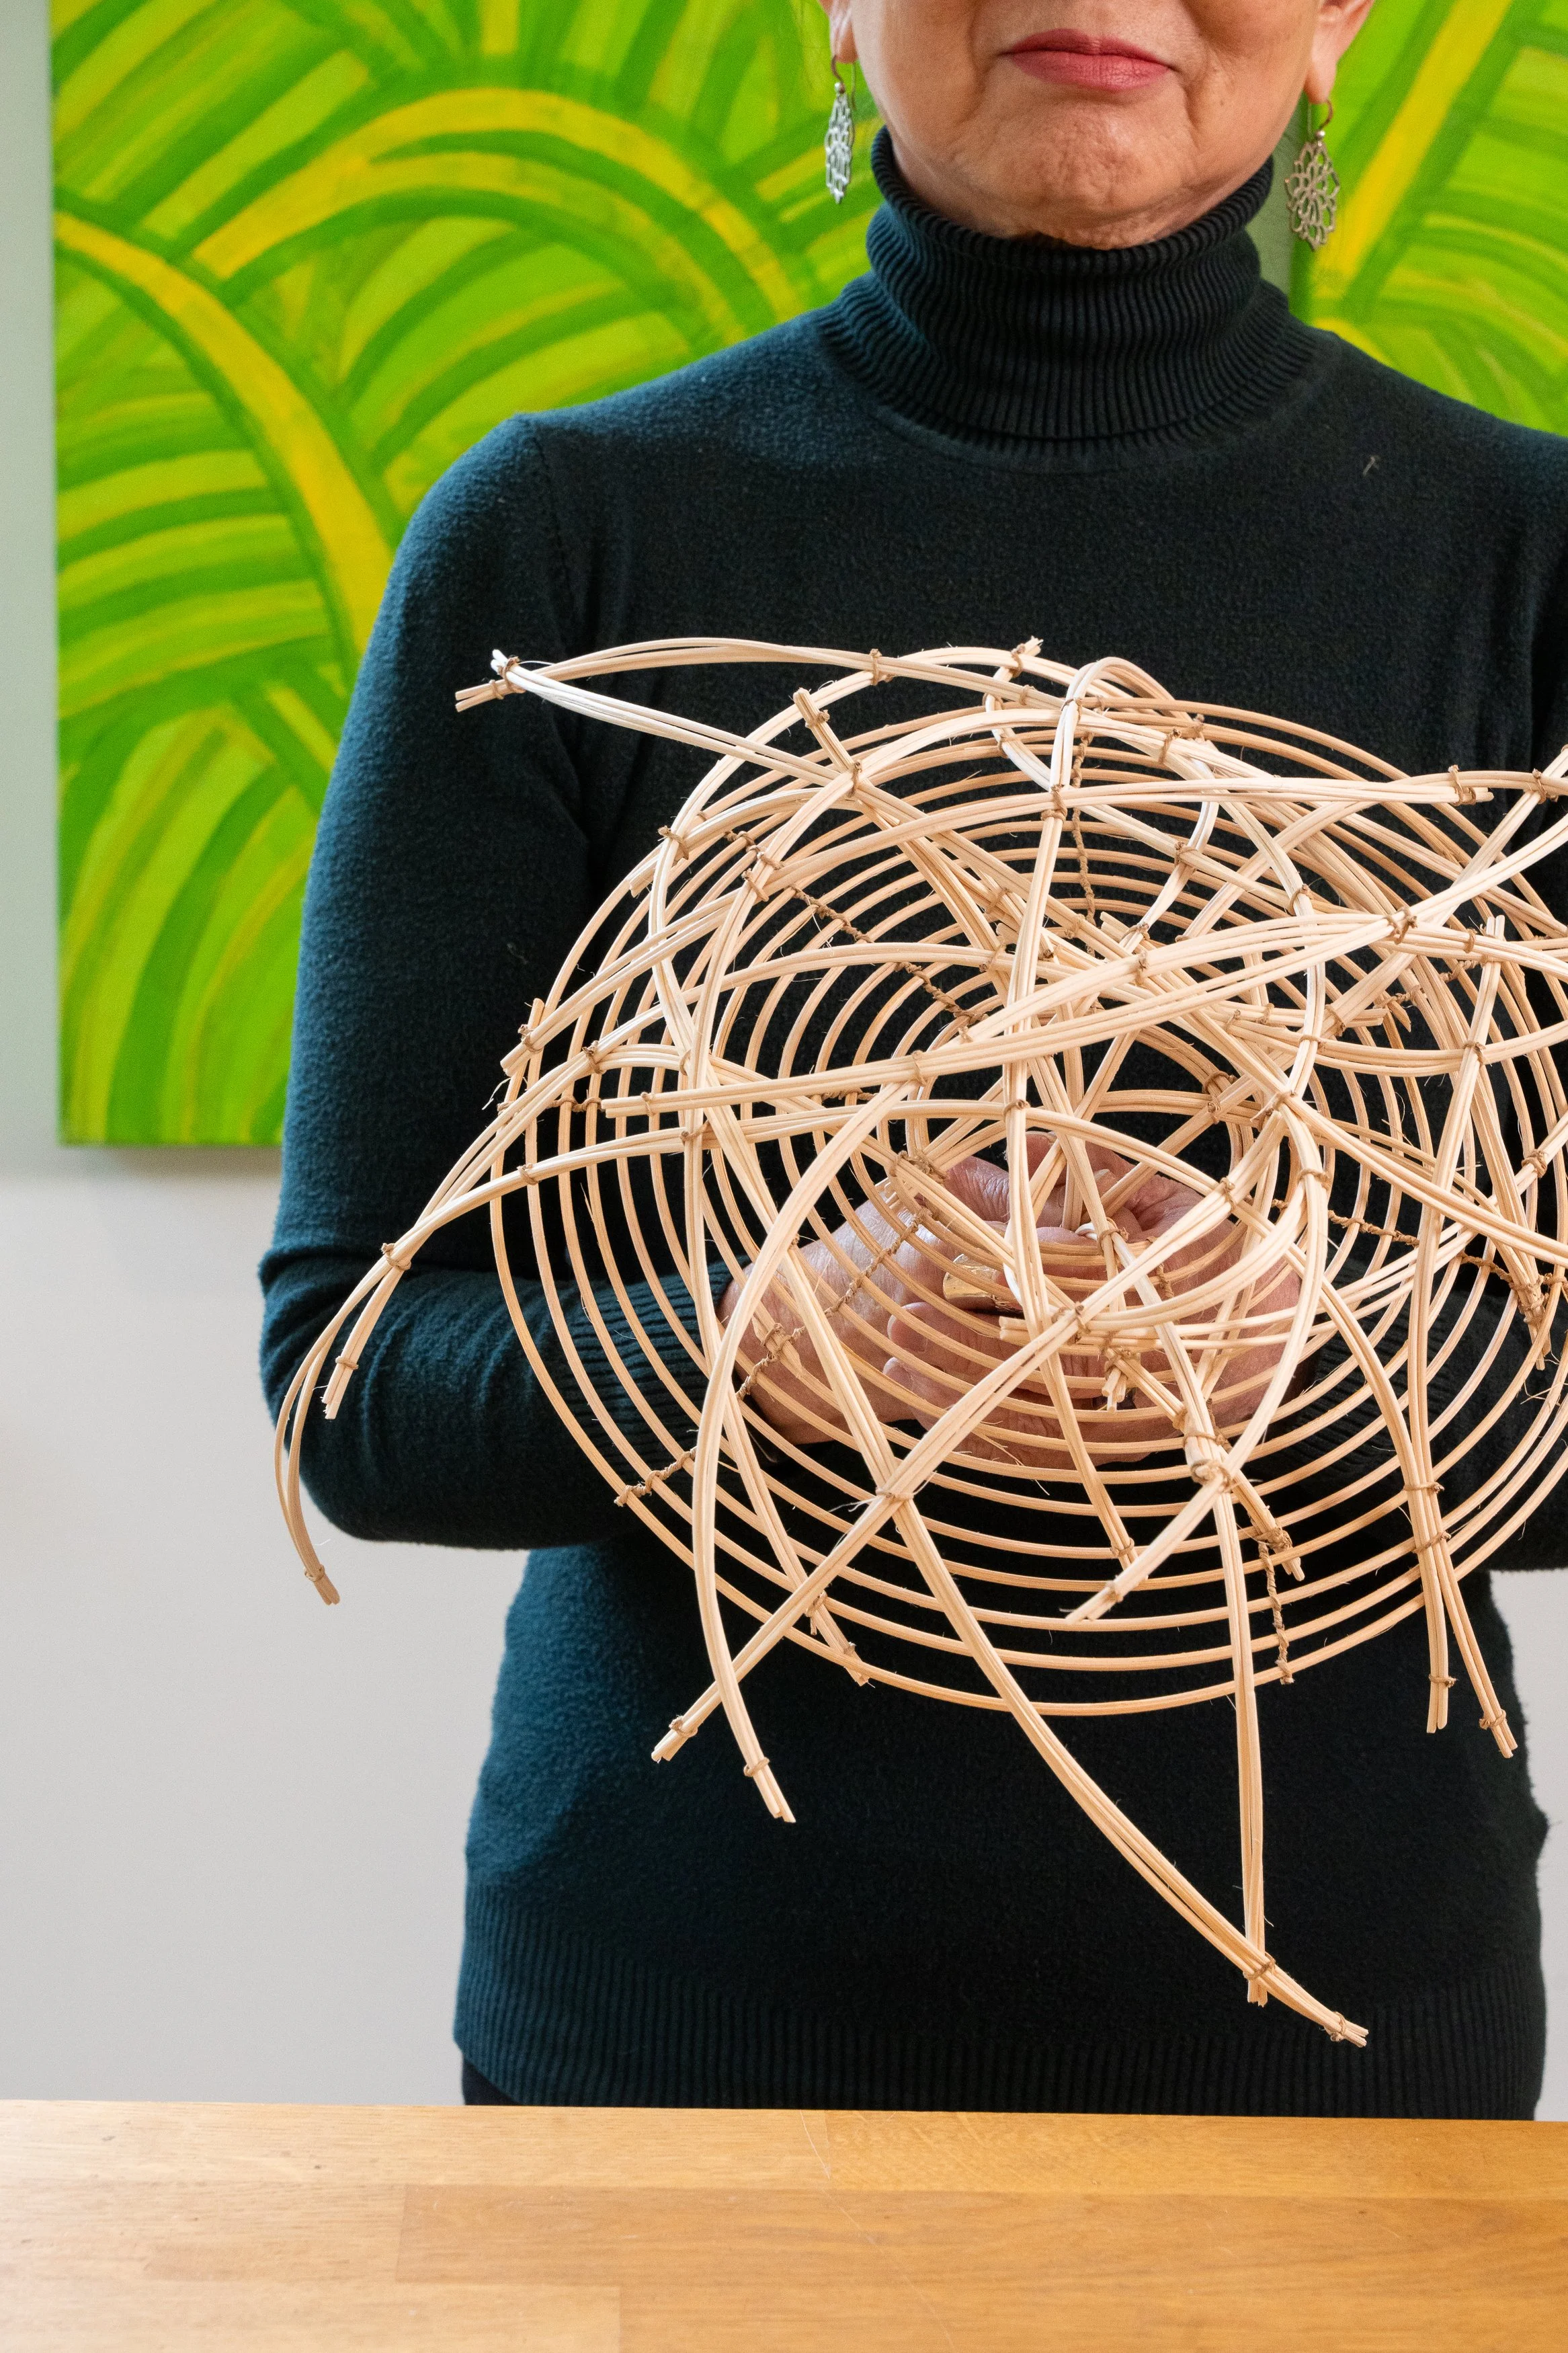

Structure #8 Round Reed Tatami Circle with Curvilinear Arc Overlay Structure
Variation of Round Reed Structure with Tatami Circle Addition